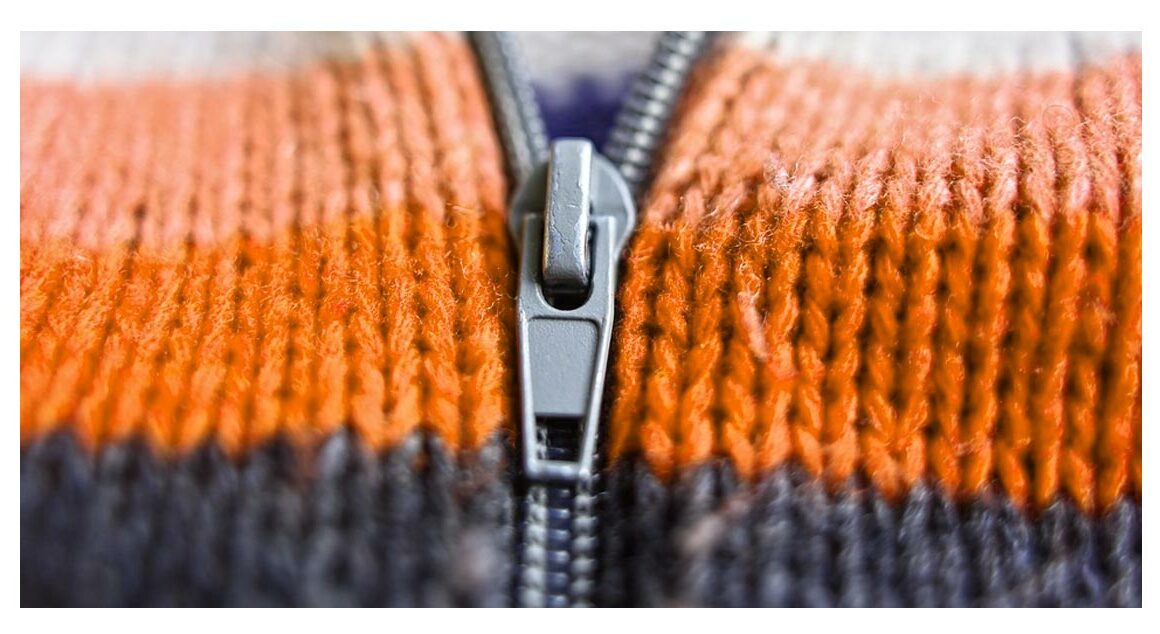
The placement of zippers in the knitted garment requires careful measurement and complete attention to detail. You’ll find different kinds of zippers in recent times. However, you must choose the one best suited to the garment you are knitting. A separating zipper must be used for a garment that opens up like a cardigan or a jacket.
Non-separating zippers are used in the case of necklines and skirts. The material of the zipper being used also makes a lot of difference. A plastic or nylon zipper must be used for knitted garments that are lighter in weight. Metal zippers are used for bulkier garments as they can withstand heavy use. You must also be clear on how you’d like to place your zipper in the garment you’re knitting.
You may want the zipper to run from the bottom edges of the opening all the way to the top. Another option would be to have the zipper run short, allowing the knitted garment’s exposed edge to show. For calculating the length of your zipper, you must first get the length of the garment’s opening measured.
Steps for placement of the zipper
Here are the steps to have the zipper properly placed in your knitted garment:
1. Open the zipper you want to place in your knitted garment. Then, decide which side of the garment opening is to be done first.
2. Place the knit fabric’s edge close to the zipper teeth. It must not be so close that the head of the zipper catches the fabric upon sliding.
3. By using a thread of contrasting colour, tack the zipper in place. It would be a good idea to use a long-running stitch. This will help you remove it easily when you’re done. Ensure that you’re going through the knitted fabric and the zipper. Else, the zipper might slip around.
4. Backstitch the zipper from the right side by hand using hand-sewing thread to match the knitted fabric. Your stitches must be nestled along the edge of the knitted fabric so that they’re invisible. Don’t forget to test the free movement of the zipper head. Make sure that there’s no problem opening the zipper.
5. Repeat the earlier step with the other side of the zipper.
6. Turn under the zipper tape’s end and stitch into place. When the zipper is completely installed with the top ends tacked down securely, cut off the excess zipper length.
Tips on shortening your zipper
1. Both separating and non-separating zippers must be shortened at the top.
2. If you have excess zipper fabric, you can fold it back at a slight angle. It can then be tacked down by hand-stitching it into place.
3. If you’ve shortened the zipper by cutting away the excess zipper fabric, stitch across the zipper teeth. This will prevent the zipper head from being pulled off accidentally.
Important tips for zipper placement
1. Don’t sew a zipper into a hand-knitted garment using a sewing machine. The zipper may ripple owing to the difference in tension caused by the bulk of the knitted fabric. Machine sewing may also make the knitted fabric stretch out during the zipper placement.
2. To prevent your stitching from distorting the knitted fabric, sew in the zipper carefully.
3. You can consider using the grosgrain ribbon to cover the zipper edges. This will prevent wear on the stitches that hold the zipper in place.