You’ll see the gauge referenced in several places when you get started in knitting. It is a measure of the number of stitches in an inch of fabric. The first step in knitting is to choose your desired pattern for the knitting project. Once this is done you’ll need to see the gauge given by the designer. This is usually found at the beginning of the pattern close to the requirements of the needle and yarn.
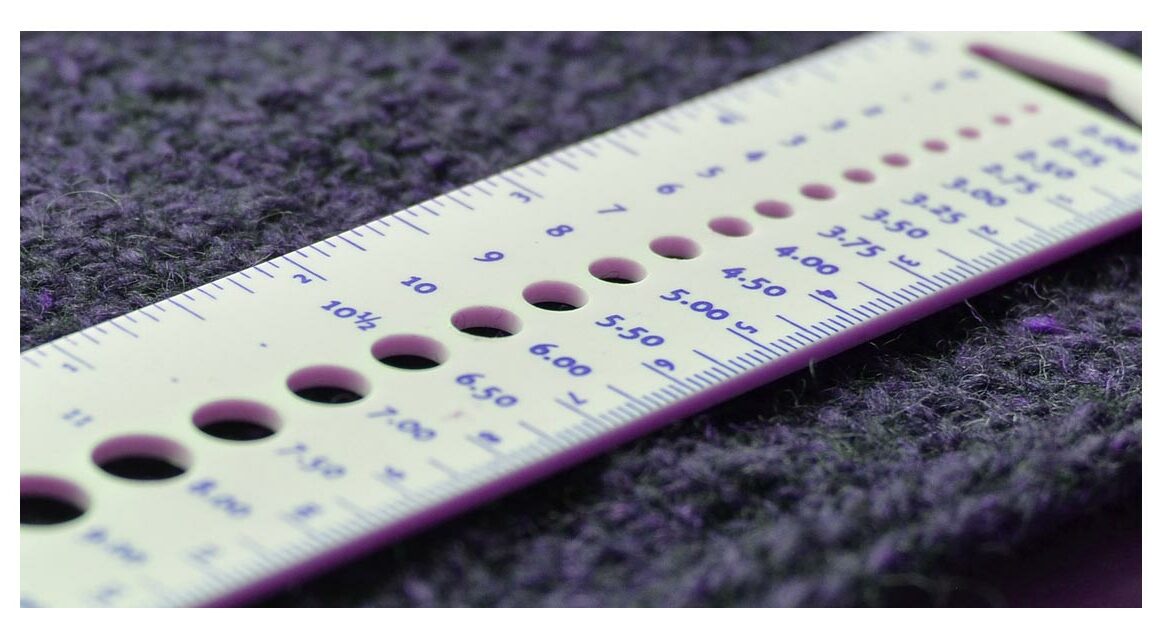
You’re given the gauge by the designer to achieve the intended drape and fit in the knitted fabric. A gauge can also be used to experiment with other styles and yarns. The use of a gauge ruler is also recommended for knitting swatches. It allows you to quickly and easily get a precise measurement of your swatch.
1. Choosing a yarn
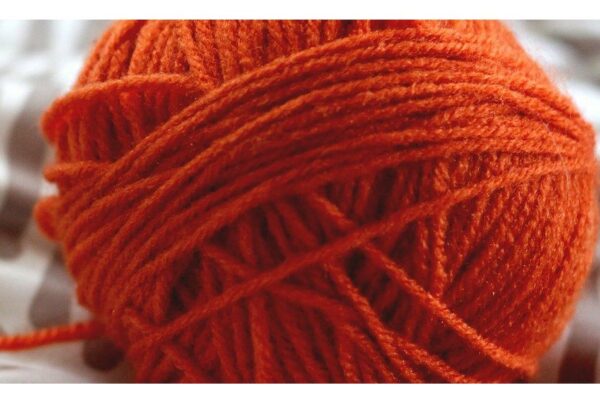
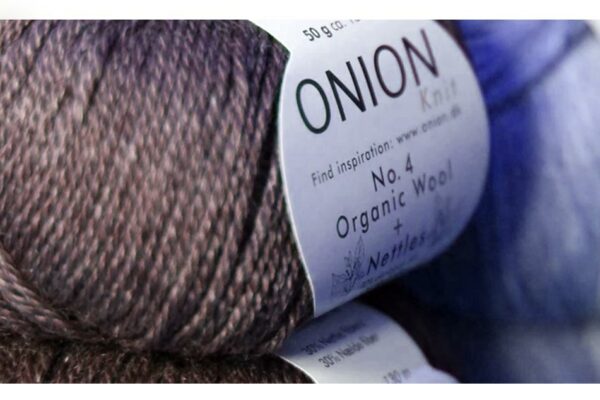
After having selected a pattern, the next step is to select a yarn for your knitting project. It begins with having a good look at the label given on the yarn. Usually, a recommended needle size and a gauge are indicated by the label. Most of the yarn companies give a vertical measurement.
Once you’ve understood the gauge listings on a pattern and on the yarn, you can explore several options. If the yarn doesn’t fit in your budget or is a different fibre, you can choose another yarn. Different types of fibres knit up differently. You just have to stay within the gauge that has been recommended.
2. The gauge swatch
It is always a good idea to do a test before you start knitting. For the success of the garment you intend to knit, a gauge swatch is extremely important. Without the gauge swatch, you may spend many hours knitting a garment of the wrong size. Upon knitting up a gauge swatch, you’ll know whether it has greater or lesser stitches per inch.
If it has fewer or more stitches per inch than what is given on your pattern, it needs rectification. This is done by increasing or decreasing the size of the needle you’re using for knitting. It must be kept in mind that the larger your needles are, the larger your stitches will be. In this case, fewer stitches will fit into an inch.
3. Choosing the size of your needle
The patterns usually have a note next to the required needles saying ‘or size needed to obtain correct gauge’. This is a good hint as various knitters would use different needle sizes to get a specific gauge. Your needle size would depend on whether you knit tightly or loosely.
If you knit exactly the same way as the individual who wrote the pattern, you certainly have some expertise. It is your swatch that helps you figure out your needle size.
4. Getting the swatch done
Taking the help of the indicated gauge, cast on the stitches within the required number of inches. To keep the swatch from rolling at the edges, knit the first inch in garter stitch. This would also make it easier to measure and have greater accuracy.
You can then change to stockinette stitch for more inches. Get back to the garter stitch and knit an inch more. You can then take your needles out of the stitches. This is done so that the needle doesn’t affect the swatch gauge.